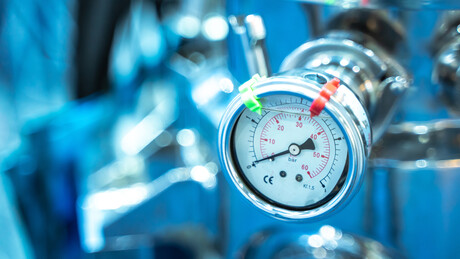
Understanding measurement uncertainty

No measurement can be made with 100% accuracy. There is always a degree of uncertainty, but for any important measurement, it is essential to identify every source of uncertainty and to quantify the uncertainty introduced by each source. Here we provide an overview of the importance of measurement uncertainty and explain the difference between accuracy and precision.
Measurement provides quantitative information about the properties of an object, substance or process. Some measurements are simple, referring to only one attribute such as size, mass, temperature or speed. Others can be extremely complex, such as determining the amount of each individual gas in a multi-component gas mixture.
In every field of commerce and industry, buyers require certified measurements to give them assurances of the quality of goods supplied; for example, the tensile strength of steel, the purity of a drug or the heating power of natural gas.
Suppliers rely on test laboratories, either their own or third parties, to perform the analysis or measurement necessary to provide these assurances. Those laboratories in turn rely on the accuracy and precision of their test instruments, the composition of reference materials, and the rigour of their procedures to deliver reliable and accurate measurements.
Every stage of the process, every measurement device used, introduces some uncertainty. Identifying and quantifying each source of uncertainty to present a test result with a statement quantifying the uncertainty associated with the result can be challenging. But no measurement is complete unless it is accompanied by such a statement.
Measurement uncertainty is critical to risk assessment and decision-making. Organisations make decisions based on measurements. The more uncertain they are about the accuracy and precision of those measurements, the bigger the risks associated with those decisions.
Good measurement practice means identifying all possible uncertainties, determining their importance, estimating the degree of uncertainty, taking the steps necessary to reduce overall uncertainty to acceptable limits, and reporting the degree of uncertainty associated with a measurement.
Measurement error is not the same as uncertainty. When a device to be calibrated is compared against a reference standard, the difference is an error, but that error is meaningless unless the uncertainty associated with that measurement can be determined.
There are three components to estimating uncertainty:
- Identifying and quantifying the effect of any environmental factors that can affect the accuracy of measurement.
- Estimating the accuracy of the measuring equipment or material.
- Estimating the uncertainties in taking the measurement
Accuracy and precision are terms often interchanged, but they are not synonymous. There are uncertainties associated with both the accuracy and precision of measurements, so it is important to understand the distinction.
Accuracy is the closeness of a measurement to the true value of the property being measured.
Precision is a measure of how close repeated measurements are to each other, when there is no change in the property being measured. It is perfectly possible to achieve very high precision with considerable inaccuracy: a large number of very similar measurements could be way off the mark if there were some aspect of each measurement introducing a similar level of inaccuracy, such as a wrongly calibrated instrument.
Only by identifying and quantifying all the uncertainties in a measurement — in its precision and its accuracy — can there be any estimate of the accuracy of a group of multiple measurements, no matter how close they are to each other.

To read more about this topic, click here or visit www.boc.com.au.
Could this optical centrifuge demystify exotic, frictionless superfluids?
A new optical centrifuge has enabled the first demonstration of controlled spinning inside a...
From assistance to agency in biopharma R&D: benefits of next-gen AI-native lab notebooks
The next generation of AI-native lab notebooks has the potential to turn AI into an active...
Images reveal "incredible" detail of industrial micro-CT scanner
Images of intricate biological structures and everyday items have revealed the capabilities of a...


